

JetBackup 5 Cross-Platform Migration
JetBackup 5 introduces new command-line tools that let you package and restore account(s) within your server terminal.
Combined with the new backup structure introduced in JetBackup 5, this allows you to package an account from one server and restore the same account to another server across all supported platforms with JetBackup 5 installed!
Here is a general guide on how to do a cross-platform migration using the JetBackup 5 pkgacct and restorepkg commands:
Step 1: SSH into the primary server where the account you would like to migrate is currently hosted.
Step 2: Execute the JetBackup 5 pkgacct command as the root user and specify the username of the account, for our example, we will be migrating jbtestuser:
[root@qa1 ~]# usr/bin/jetbackup5 --pkgacct jbtestuser
Backup location: /usr/local/jetapps/usr/jetbackup5/workspace/pkgacct/{HASH}/jetbackup-jbtestuser.tar.gz
Once the command is executed, JetBackup saves the tar.gz package on the JetBackup workspace folder with the jetbackup-{USERNAME}.tar.gz filename format.
- You also have the option to specify sections (like email, databases, ssl certificates, etc) of the account you may want to exclude from the package by using the -oSkip flag with the pkgacct command. For more information regarding the pkgacct command, please visit: JetBackup 5 Pkgacct
Step 3. Transfer the packaged account over to the server you will be migrating to then execute the JetBackup 5 restorepkg command as the root user and specify the path where you saved your package to.
[root@qa2 ~]# usr/bin/jetbackup5 --restorepkg jetbackup-jbtestuser.tar.gz
Restore completed- Just like pkgacct, you also have the ability to specify additional restore options like whether to terminate the account before restoring, suspend the account after the restore, or manually set account ownership, package, and IP among other things. For more information regarding the restorepkg command, please visit: JetBackup5 Restorpkg
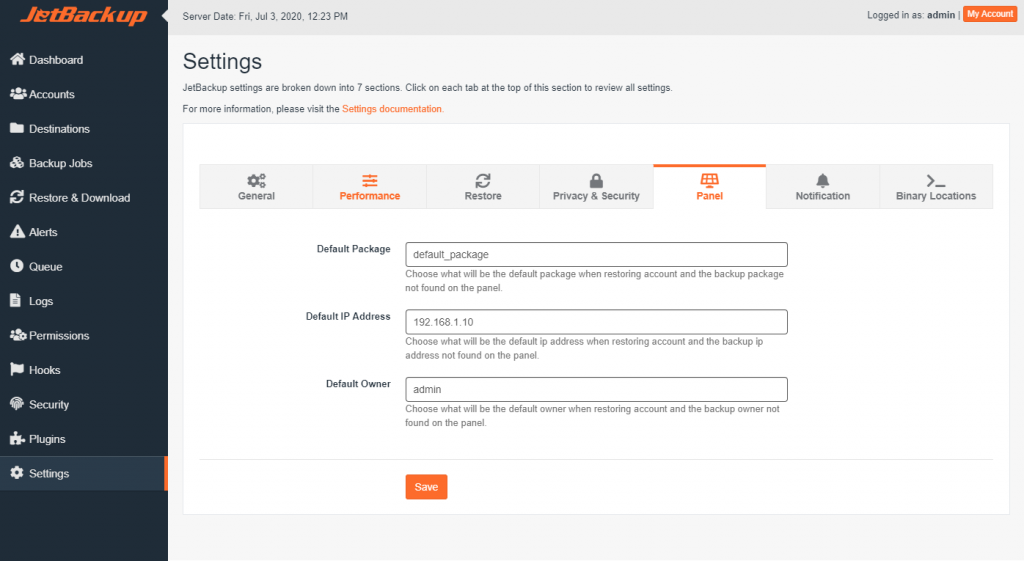
You may also want to configure the default package, IP address, and account owner that JetBackup will assign to an account when the corresponding items on the backup(s) are not found on the Panel/Secondary Server.
Step 4: After the restoration is complete, the account and its sites should be up and running:

Additional Notes:
If you are performing a complete server migration/failover, the following should be handled manually:
IP Migration, TCP/IP Traffic Failover / Giveback should be handled externally (Floating IP, BGP Re-Route, DNS Failover etc..)
You may need to update your panel and account configuration as some platforms differ on their account structure and how they serve and handle files like naming conventions of databases, config file paths, etc.
Please take into account third-party software dependencies that you may need to set up on your secondary server(s)